How to create automatic discount code on Shopify.
You can offer your customers discounts that apply automatically at checkout and on the cart. You can create percentage, fixed amount, or buy X get Y automatic discounts.For an automatic discount to apply correctly, your customers need to add all eligible items to their carts before they move to checkout. You can have only one active automatic discount at any given time. Automatic discounts take precedence over discount codes, and customers can’t apply multiple discounts to a single order. Discount codes are unavailable for customers who have an automatic discount applied to their checkout.
The following is my instructional writing on the topic How to create automatic discount code on Shopify. In my opinion, I find this writing very informative so I hope you will take your time to read.
Step 1: Go to the Discounts.
After signing in your Shopify account,choose Discounts to go to the Discounts section.

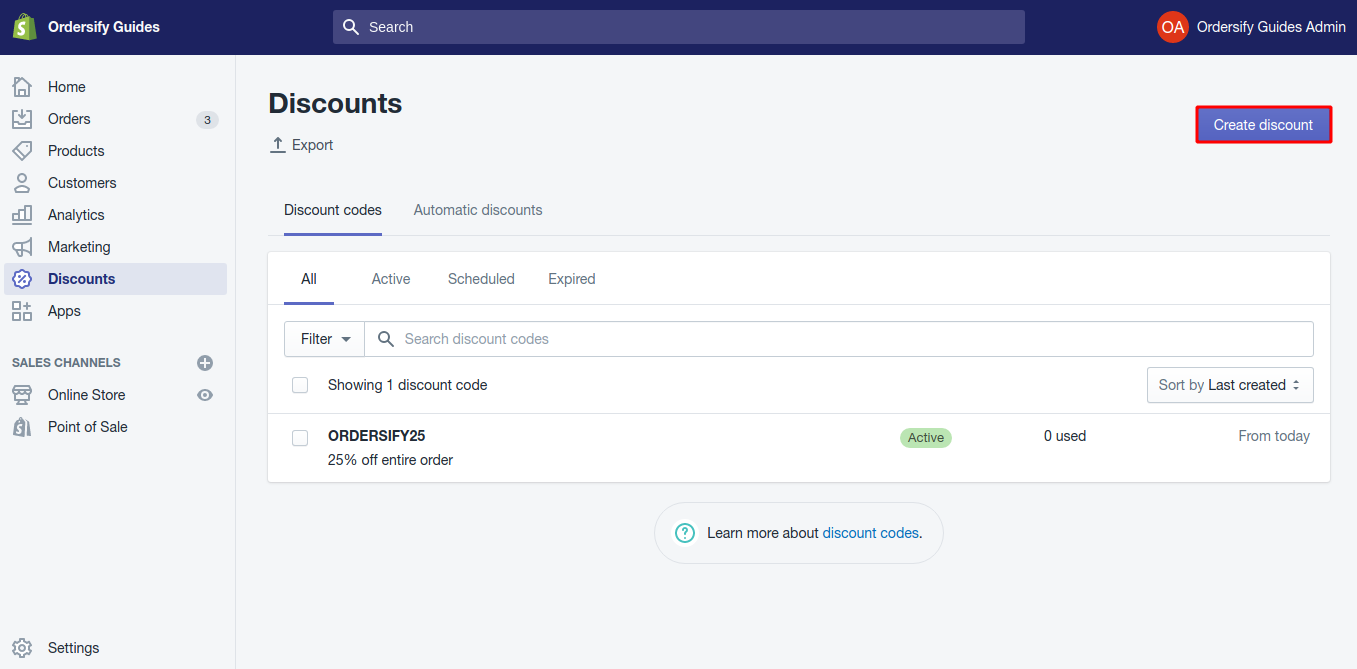
Step 2: Click Create Discount.
Inside the Discount section, find the Create Discount button,and click on it.
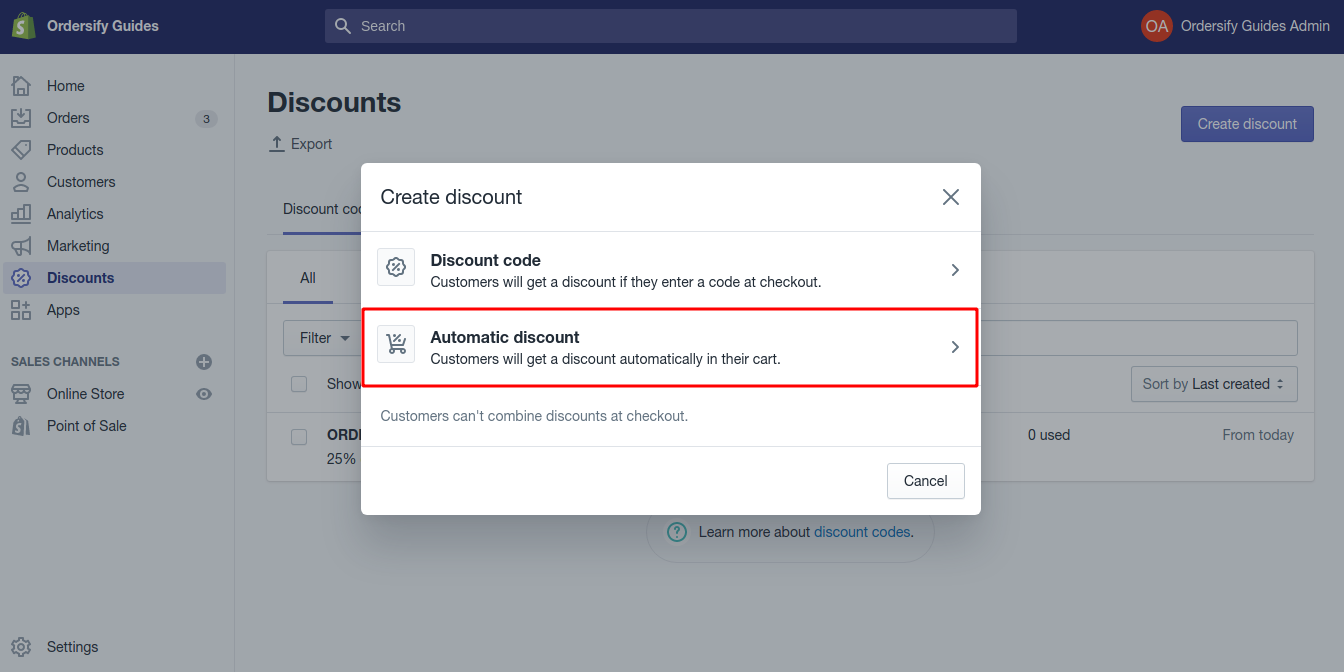
Step 3: Choose Automatic discount code.
Step 4: Set up Automatic discount code.
Firstly, you enter a name for the new code that the customers can enter at checkout (avoid using any special characters like dollar signs). You can use spaces in the name so the words are separated.

Under Type, select the discount type that you want to creat. There are 3 different types of automatic discount codes: Percentage discount Fixed amount discount Buy X get Y discount
1. Percentage discount.
In Discount value, enter the percentage amount that is taken off when the discount is applied. Then select whether the discount applies to an entire order, specific collections, or only specific products.
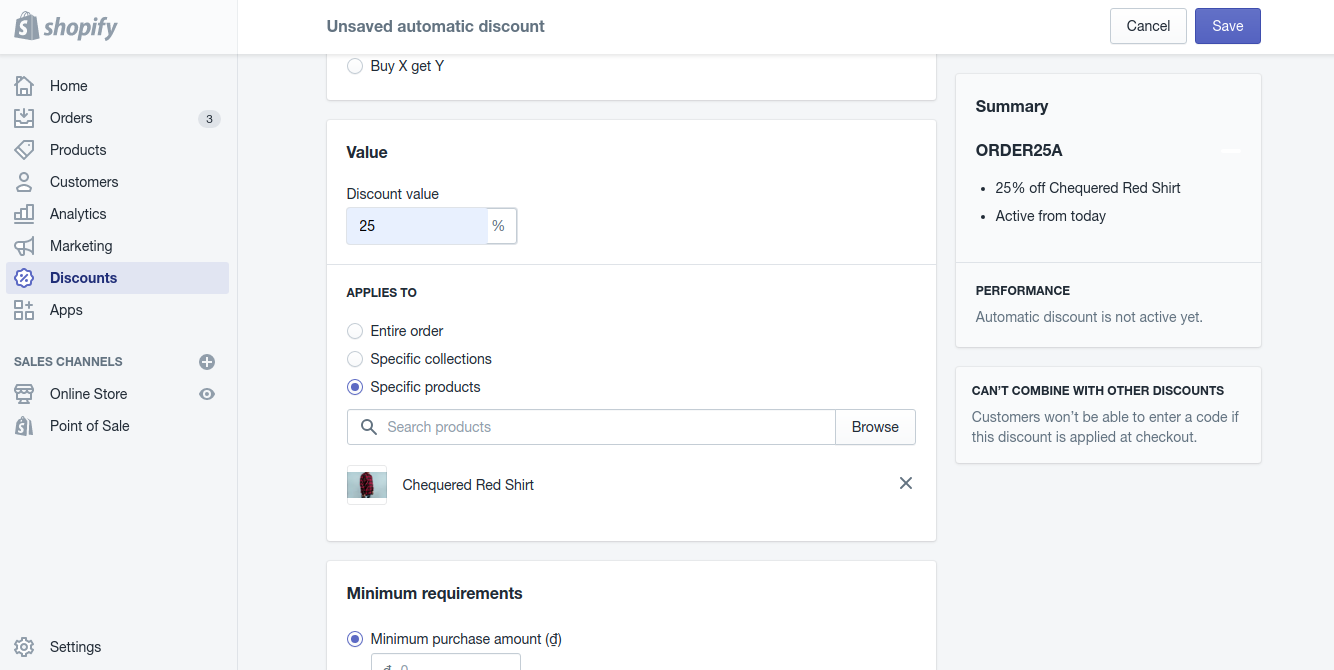
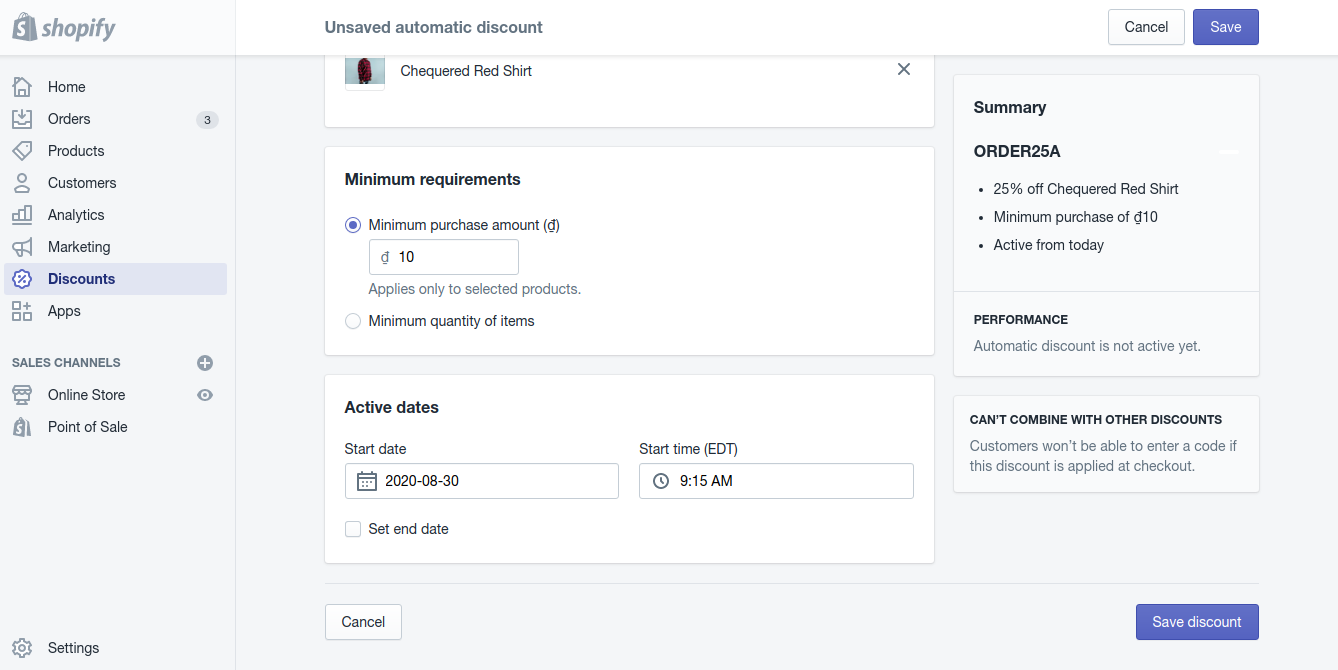
Next, select either a minimum purchase amount or minimum quantity of items purchased for the discount is applied. If the discount applies to a specific product or collection, then only these items contribute to the minimum requirements.
To finish this automatic discount code, click Save.
2. Fixed amount discount.
Under Discount value, enter the dollar amount that is taken off when the discount is applied. Then select whether the discount applies to an entire order, specific collections, or only specific products.
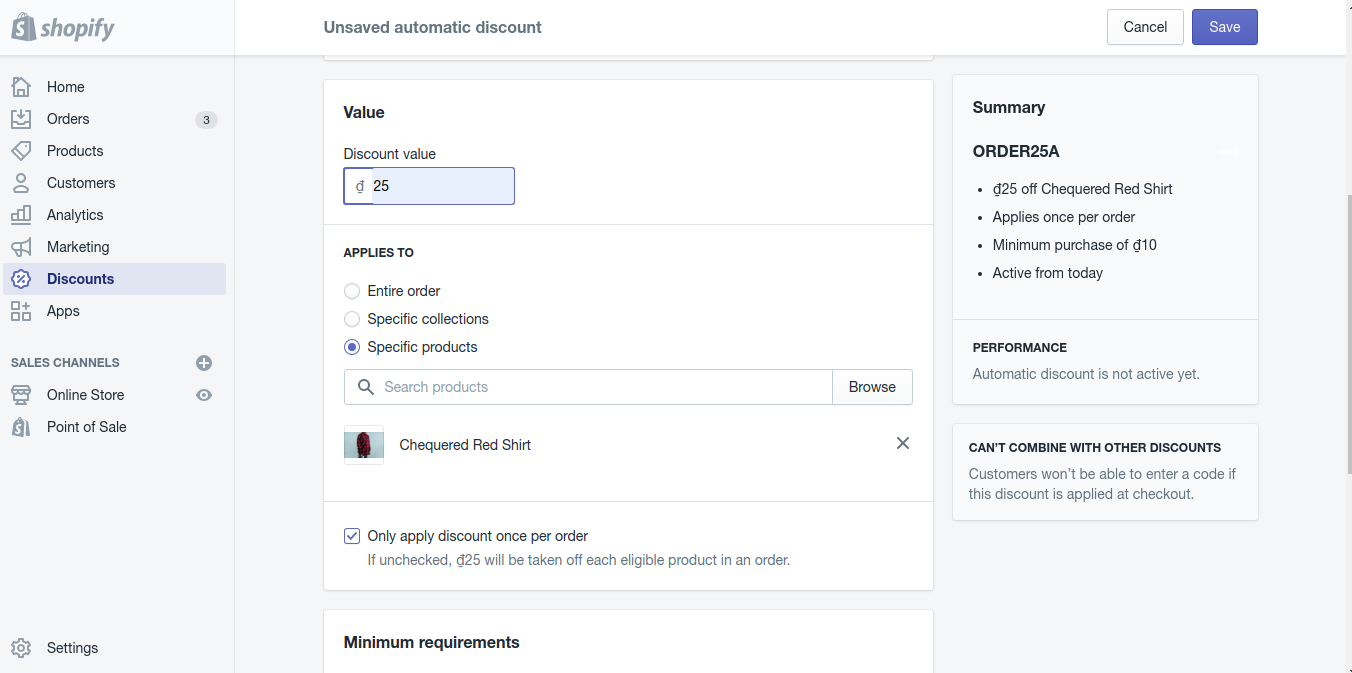
If you select collections or products, you have the option to click the checkbox only apply discount once per order. If you leave this unchecked, the discount will apply to each eligible product in an order. Next, select either a minimum purchase amount or minimum quantity of items purchased for the discount is applied. If the discount applies to a specific product or collection, then only these items contribute to the minimum requirements.
After you complete the steps for the specific discount type, the final step for all automatic discount is active dates and save.
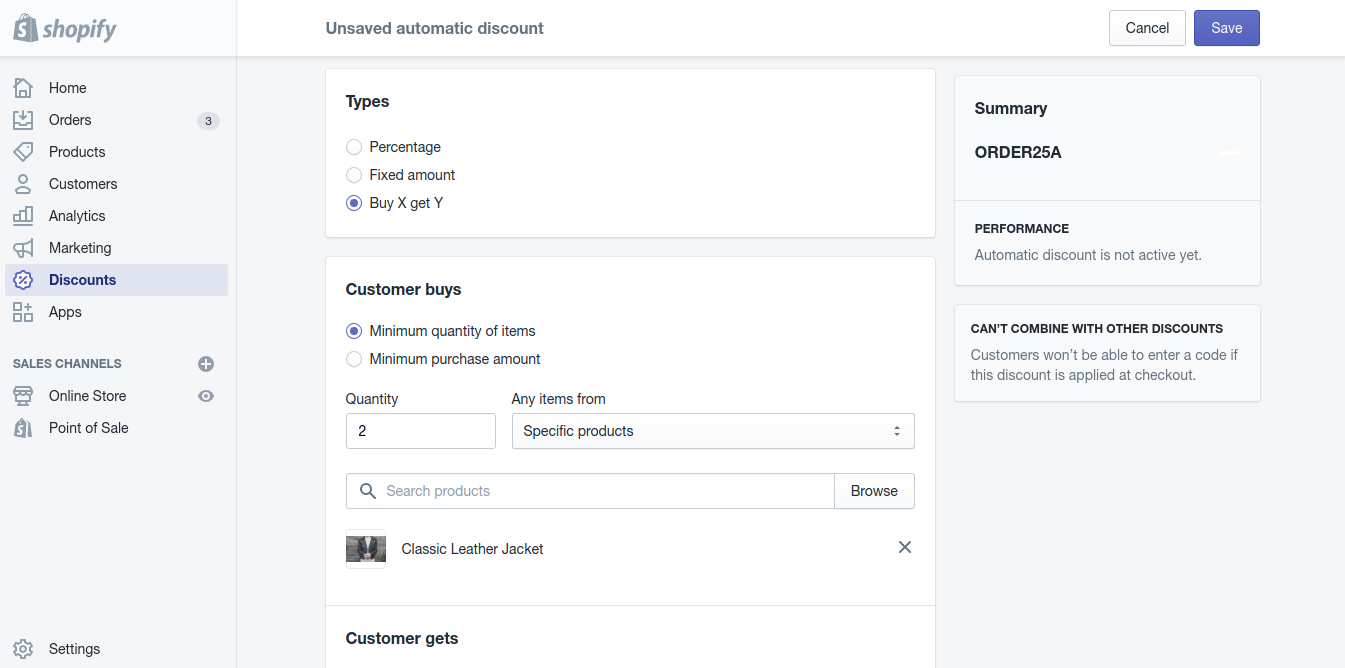
3. Buy X get Y discount.
In the Customer buys section, select either products or collections from the dropdown menu. Then set the quantity of those items a customer needs to add to the cart before the discount is applied.
In the Customer gets section, select either products or collections from the dropdown menu. Then set the quantity of items that the discount applies to.

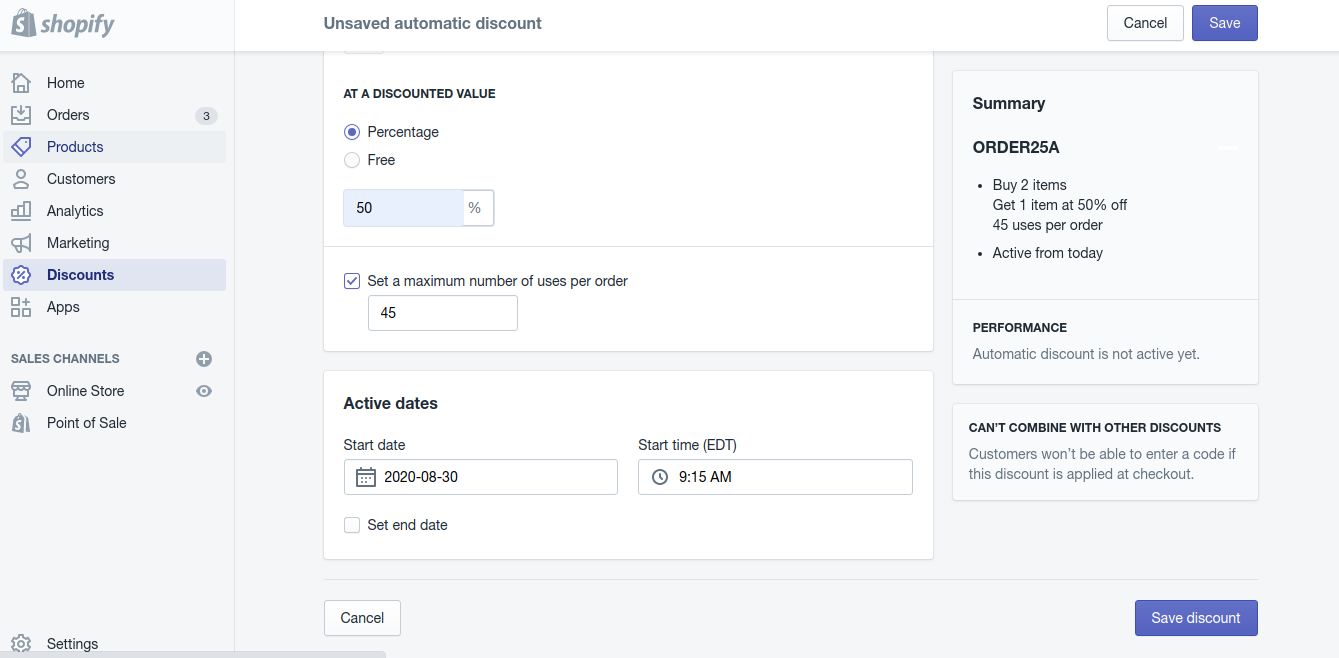
Next, if choose the discount takes a percentage off each eligible item, or else make the item free. It’s optional to check the box Set the maximum number of uses per order. If you check this enter maximum number of times that this promotion can be applied to an order.
Then, set up active dates. Remember Automatic Discount can only have one discount active at a time. Make sure the active dates do not overlap with another automatic discount’s active. when you’re finished, click Save.